Saturday 25 February 2017

CLEANED UP

The differential has been delivered to Hardy Engineering at Leatherhead and hopefully it should be ready to collect by the end of this week.

In the mean time I cleaned up all the rest of the suspension parts, just like the diff they were caked with grease and kack. I got through load of spray on grease dispersant and and with plenty of vigorous brushing I got them relatively clean. In fact now,  the trailing arms actually looked like they were cast aluminium where as previously they could have been made out of coal.


I removed the brackets, two each side, that secure the trailing arms, to the two main suspension arms, ensuring that the shims that adjust the rear toe in were stored so that I can ensure that they get reinstalled on the correct side. I also unbolted the big bushes at the end of the suspension arms. Finally I pushed out the four bushes from the two trailing arms. A final clean up, and off to the sprayers.


Satin black for the two suspension arms and assorted brackets and washers and silver for the aluminum trailing arms. It would appear that Adept Finishers are very busy at the moment, so I don't expect to be able to collect the parts for at least three weeks, that will give me time, to order up all the parts I need, new drive shafts, poly bushes, assorted nuts and bolts, shock absorbers, stainless steel brake hoses, one rear brake cylinder to replace a slightly weepy one, and stainless rear exhaust bits.

I can't wait to start getting it all back together, ready for some spring driving

Wednesday 15 February 2017

DIFFERENTIAL

A replacement ram for my hydraulic ramps arrived and now all works perfectly, so no reason not to get stuck in and remove the differential. With the car up jacked up on the ramps I placed the axle stands under the body and lowered the ramps and removed them.


My intention was to start by just dropping the diff  and then removing the rest of the suspension, but that was not the way it was going to be, First job was to remove the rear part of the exhaust and then disconnect the drive and prop shafts, all went well, but the diff was not going to budge. In fact it was the very last bit to come out from under. The drive shafts were the next to come out, followed by the road springs and the trailing arms. The two rear subframe arms were next, leaving the diff supported on my trolley jack, but hanging on the rear bracket. it took a lot of wriggling of the diff to get it to drop down and then a semi controlled lower of the differential to the ground. There was also quite a few stubborn nuts and bolts on the way to this point and for a couple of them the blow torch came in handy.


It was much heavier than I expected and very greasy and dirty, but I got it onto my workmate and with a large bowl underneath I drained the oil and scrubbed it clean. There is a lot of backlash and a grating sound as you turn the flanges so it is now in the back of the car awaiting delivery to the engineers to be rebuilt.

Wednesday 8 February 2017

SEAT BELTS

It is likely that the usual incumbent of the rear seat of the Stag will only be our dog, Duggie a Miniature Schnauzer, so I decided that I should find some way of attaching his harness, that in the event of heavy braking, or God forbid, an accident, he would be restrained to the back seat.

I originally was just going to screw in a large ring bolt, I knew that there was provision for fitting rear lap belts so thought I would be able to use one of the welded nuts for doing so, but when I saw in Rimmer Bros sale that lap belts were reduced I thought I might as well do the job properly. I know that they are not nearly as safe as a three point belt for human occupants, but a lap belt is definitely better than no belt at all. I also know that a three point belt fitting kit is available, but I could not see how that could be truly effective, come a crash.


Out came the back seat followed by the side panels and the plastic caps were flipped off exposing the nuts welded to the underside of the floor pan and the wheel arches. A couple of the nuts were a bit rusty internally and took a bit of effort screwing in the 7/16 bolts, but all eventually were tightened down leaving enough movement so that attachments could swivel.


Somebody on the Stag Forum had pointed out the the side panels were precut to allow the belts to come through. I had to cut through the vinyl covering on both sides of the card and sure enough there were the slots. I initially folded back and stapled the overlap of vinyl to the back of the card, but I was not really happy with the look. A quick Google search turned up escutcheon plates from Rimmers at £3.50. They arrived next day and with a little trimming of the cards they finished of the job neatly.


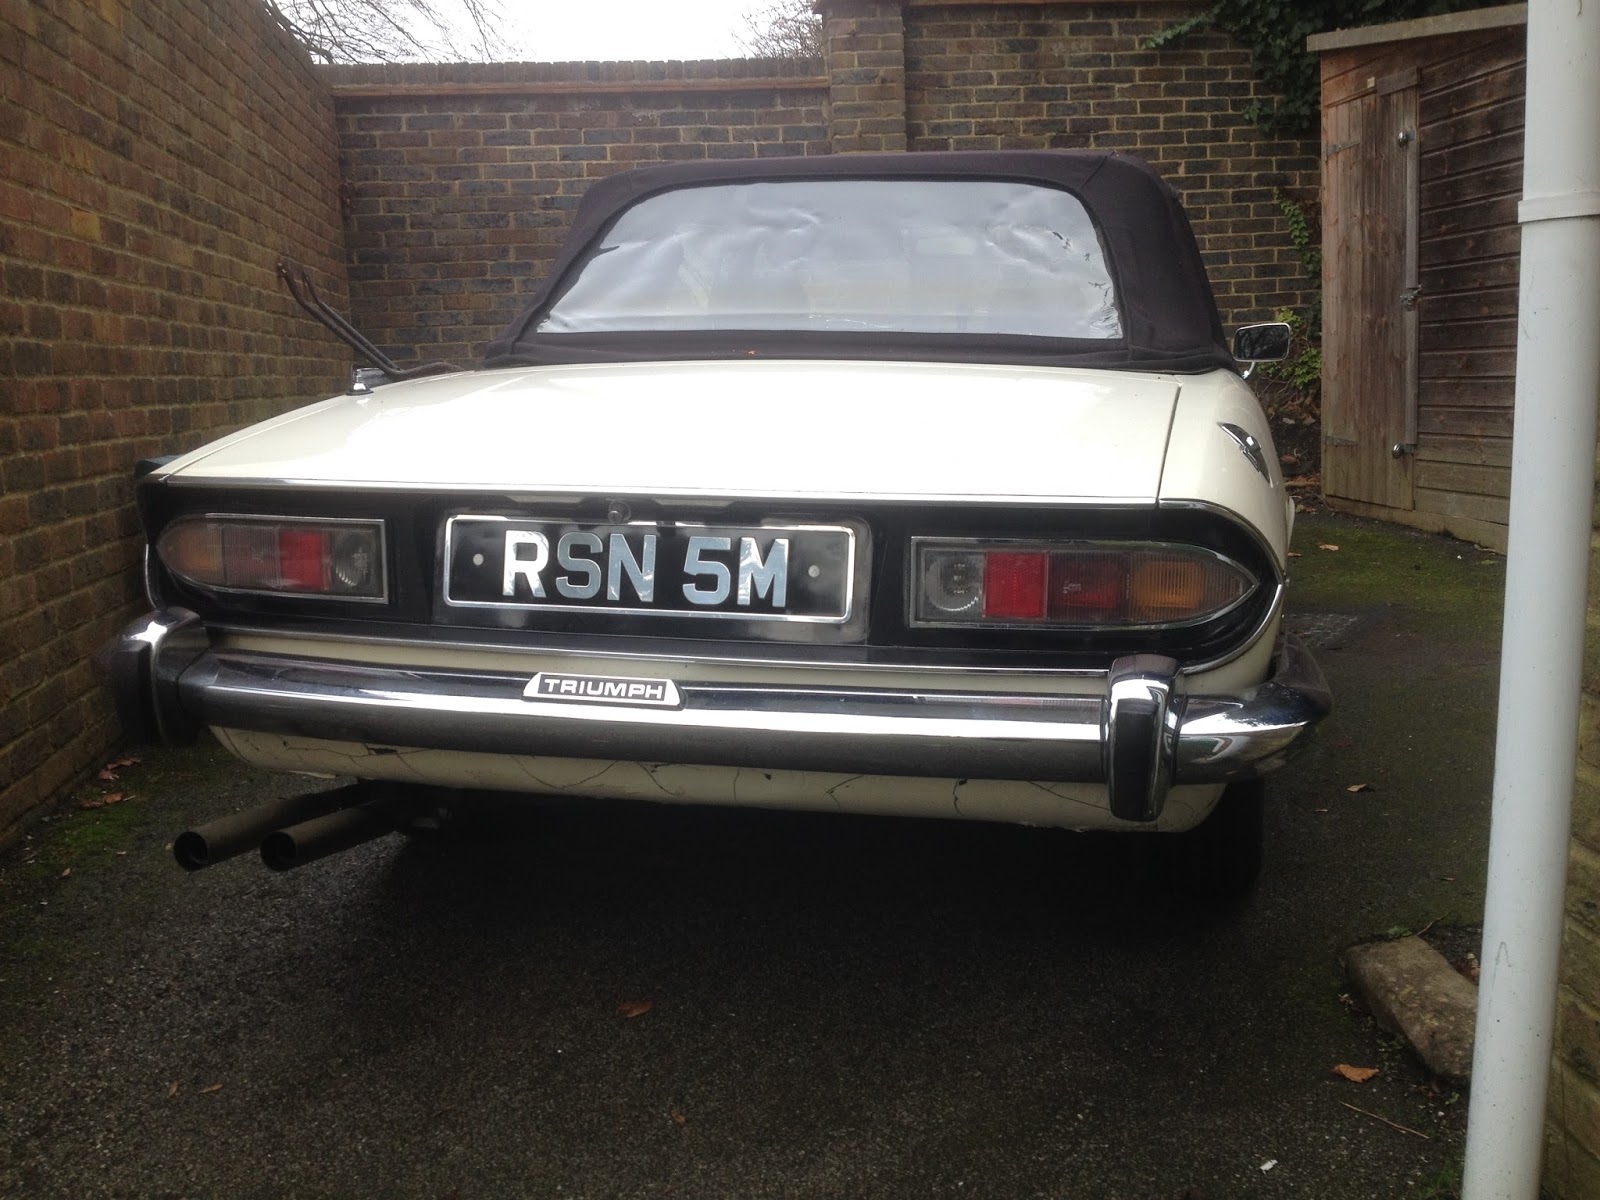
A last little job before I start removing the differential and rear suspension, was to fit my new black and silver number plates. As Stella Stag (Trans gender being the thing these days) is registered as a Historic Vehicle she is allowed to sport these old style plates, which I think suits her well.

Friday 3 February 2017

HELICOILS

Fortunately the new cork gaskets resumed their proper shape after having been taped to the underside of the cam covers and I bolted the covers back onto the engine with new stainless fittings.

Before I could refit the aircover I had noticed previously that the top bolt hole in one of the carbs had lost its thread. On closer inspection this time I saw that one of the three holes that the elbows bolt down to, on both carbs allready had a shiny helicoil thread insert. I checked the size of the bolt 5/16 UNC and ordered a helicoil kit for that size.


Before I started on this procedure I checked out a few YouTube clips. It was recommended that a drill guide be used to ensure that the drill remained perpendicular to the surface when drilling out the remains of the thread. I cut a substantial block of hardwood and drilled through it with the provided bit on my bench drill.

I first filled all of the holes with paper cloth to prevent swarf entering and I drilled out the thread, but I did need to use a one size smaller bit first as the correct one kept grabbing, I finished off with my wooden drill guide and the correct drill, result nice clean straight hole. I removed the swarf from the hole with small bits of paper cloth soaked in oil.


I used the same block to run the thread cutting die through and again cleaned out the swarf with oily paper cloth and screwed the Heilcoil into the newly cut thread with the special tool provided.


As simple as that, elbows bolted down, airfilter fitted and only remains to take the 'AFTER' photo.


AND BEFORE


THATS BETTER