Thursday, 29 March 2018

LET THE PAINTING BEGIN

As soon as we were back home form our stint of house sitting, despite the snow on the ground I finished flatting back the red Hammerite paint from under the bonnet area. The weather warmed up just enough after the Beast from the East departed for me to consider painting the area. I don't like leaving masking tape in place for too long as it has a tendency to get properly stuck, but the weather forecast suggested that I had a big enough window to get the job done.

I only got the near side masked off when I ran out of masking tape, I thought I had another roll, but obviously not. Rather than waste the day, particularly as the sun was shining I decided to prime as much as the masking safely allowed. two large cans of primer later, I was very pleased with the result compared to the drivers side.


After a trip to Halfords and armed with three rolls of tape and another couple of large cans of white primer and plenty of newspaper, I finished off the masking and applied three coats of primer to the rest of the under bonnet area. What an improvement.


The next day was top coat day. I had five smaller cans of Rover White so I was prepared for another trip to Halfords to buy more, but to my surprise the coverage was very good. Again three coats allowing about twenty minutes between coats and five empty cans later the job was done. A few runs but as most of it will be concealed behind steering pumps, screen washer bottles etc, I was more than happy.


I waited until the next day before I carefully peeled aways the masking tape and newspaper, I was still happy! I decided I would wait a few more days for the paint to harden before I started refitting everything.

Monday, 26 March 2018

BRAKE PIPES

Been back home for awhile now and things are moving on nicely with Sella despite the awful weather during March, but I did forget to post the last job I accomplished whilst I still had use of that nice warm shed.


 I had brought the old brake pipes with me plus the new, neatly coiled up ones. The pipes were all numbered and a information sheet told me which coil would eventually go where, the ends of each pipe was already flared and fitted with the correct screw connector. Before I could start bending the shiny new pipes to shape I had to straighten them out, I started the process by pulling the pipe through a length of plastic pipe and finished off strengthening them by hand.


When I was satisfied I mounted various sized sockets in the vice, depending on the curvature of the bend required and stated to pull the pipe gently around the socket, ensuring that I didn't over bend, continually checking with the original pipe for curvature and angles.


 I didn't make too many mistakes, although some of them finished up either a little short or slightly longer than the originals. Hopefully I will be able to make the necessary adjustments when I come to fit them back on the car, worst scenario is that on the long ones I have to trim back and reflair the end, we shall soon see.


Saturday, 17 February 2018

CALLIPERS

I had opportunity to spend a few hours back in my garage, so I decided I would refit the newly refurbished callipers back on the car. As often is the case it was not the 'quick job I expected it to be

I remembered that I had to thump the callipers with my rubber mallet to remove them and I realised pretty soon that it was going to be really difficult to get the bolt holes lined up just by thumping my shiny callipers back into place. I clamped the calliper into the vice and gradually filed each side of the top lug that was the cause of the tightness. It was slow going but eventually with a bit of cooper grease on the each side of the lug, I got the bottom bolt located and with a minimum of tapping I thought the top bolt was correctly located. Both bolts tightened, but unfortunately the top one when fully home just kept on turning round. When I removed it the thread was completely buggered.

I found a new correct sized, 7/16 UNF bolt in my bolt box, but not unexpectedly, with the calliper removed, it would only screw in about two turns. I would need to  order a 7/16 tap and tap the thread clean before I could progress, but before I finished for the morning, I applied the angle grinder to the lug until the it would slip snugly into place allowing easy adjustment to ensure the bolt holes lined up.


The same day the following week I was back in the garage armed with my new tap and it only took a few moments to clean the thread and my new bolt firmly screwed fully home. Above photo shows the tap passing through the unthreaded lug and into the damaged thread in the other lug on the far side of the gap. The calliper slipped into place and I thankfully tightened both bolts up nice and tight, I fitted the new stainless flexible hose and turned my attention to the other side.


This calliper was also a tight fit. I didn't waste any time I took the angle grinder to it and very quickly it slipped into place and bolted up with out a problem. Over two hours to fit the first one and only about 30 minutes to do the second, but got there in the end.

Monday, 12 February 2018

MASTER CYLINDER

Callipers all ready to go back on the car, but Stella s in the garage and and I'm in the shed in our friends country residence so servo and master cylinder is next on the job list.

It said in manual to just separate the master cylinder from the servo, but they were a little reluctant to come apart, however reassured by the manual, I pulled a little harder and eventually they did.


I started on the servo which was fine except it looked a bit scruffy, a gentle rubbing didn't produce a genie, but a smooth surface ready for three coats of primer and another three of Rover Platinum Silver and it was looking good.


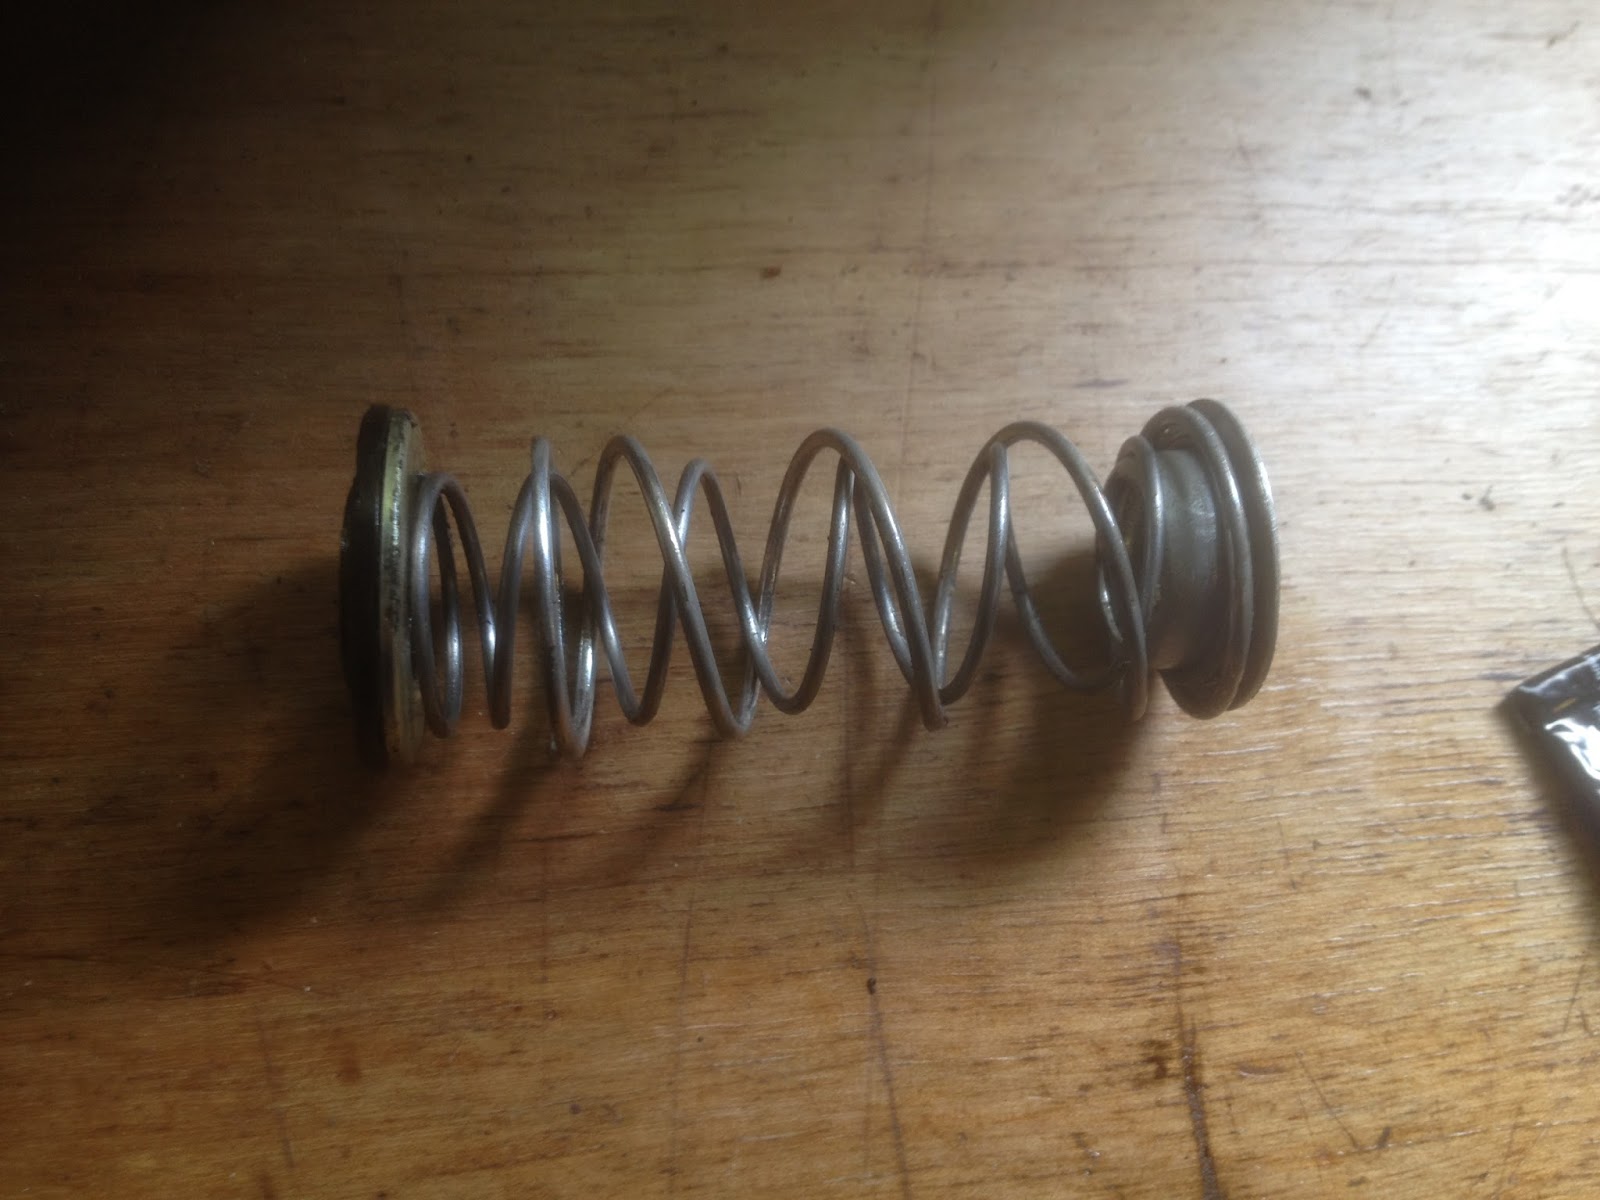
I had already got a refurb kit for the master cylinder, I have refurbed master cylinders so I wasn't expecting any problems, the first spring coil retainer was removed easily, allowing access to a second circlip, this was also removed without problem apart from breaking it.


I then came up against a solid white nylon ring that would not budge. I consulted the Stag Forum where it recommended drilling through this disc and inserting self tapping screws to help remove it, but even when this disc was removed there was a further circlip deep down inside the barrel that needed special long nose circlip pliers to remove. The concern was that it would be easy to scratch the bore and the general consensus was that it was probably better to fork out for a professionally refurb cylinder that had the barrel bored out and sleeved with a stainless steel liner.


I made the decision and ordered an exchange service, master cylinder, new for old, just like Aladdin's lamp. All I had to do was bolt the original plastic brake fluid reservoir onto the master cylinder and two nuts secured the cylinder to the servo. It is all back in the garage now, waiting to be reattached to the car when the engine bay has been repainted.


Tuesday, 6 February 2018

BRAKES CALLIPERS

We have been ensconced in our country house for  a week now, we house sit once a year, whilst good friends, the owners, go way down South for a month. The big plus is that there is a very large, heated, brightly lit and well equipped shed in the back garden.

I usually make good use of  this facility and this year it coincided with refurbing the brakes on the Stag. Before we left home I removed the discs from the brake callipers and blew out the two pistons from each calliper by using  the airline from my compressor, I managed to bruise my left thumbnail as the first piston suddenly popped out, after that I was a little more careful.


 I carefully transported all the bits into my temporary work shop and thoroughly cleaned everything using brake cleaner after removing the old rubber seals and thin, very rusty, retaining rings that held the dust seals in place. All was going well, one set of new rubber seals fitted and the thin dust seal metal retaining ring fitted. Beginners luck I guess as when I tried to fit the next retaining ring I just couldn't get it to sit inside the groove in the calliper and I damaged two of the rings beyond use in trying. The photo shows one of the old rusty rings and one of the new ones I damaged along with the new rubber seals and rings. I seriously considered that I would have to buy two new or reconditioned callipers.


The next day I brought back from my garage a few more tools and I was able to gently coax the last bright metal retaining ring from the refurb kits into place, that was a relief.


 I had hoped that the pistons, when cleaned and polished could be reused, but on close inspection, although the actual sealing surfaces looked OK there was two much rust elsewhere, so I decided to order new ones and another refurb kit to replace the metal rings that I had buggered.


All arrived now and using the method previously adopted the last two metal rings were eased into place. I lubed the new pistons with brake fluid and one by one pushed them in by hand as far as I could and then I used a G clamp to push them fully in.


After I carefully masked off all the bits that I didn't want to paint, like the new pistons i started to spray with special high temperature calliper paint.


The paint takes much longer to dry than normal spray paint, so after three coats I will leave it overnight to harden before I turn the callipers over and spray three coats on the underside.


Callipers nice and shiny now and just have the brake pads to fit, then ready to take back to my cold garage to refit to Stella. that will be the start of putting it all back together. I still have lots of rubbing down in the engine bay yet before I can respray, but warmer weather seems along way off at the moment.

Wednesday, 17 January 2018

CHAINED UP

Job Done! Bright but cold weather allowed me to get on with fitting the new timing chains etc. All went very well,  but I wouldn't have remembered where everything went without the help of the YouTube instructional video. With the jack shaft sprocket bolted on and and the crankshaft sprocket tapped all the way home, I got the chain around all three sprockets, still keeping my timing marks lined up. The only difficulty was that the spring loaded tensioners were supposed to be retained closed until a red plastic tab was withdrawn when it was bolted into position, but as I withdrew them from their plastic wrappings they sprung apart. I did find that you could compress the spring and get it to stay compressed whilst I carefully bolted them into place. Picture below shows the left side chain in place


The next day I tackled the right side chain, which was simpler as there was only the crank and cam sprockets to wrap the chain around. I torqued all the bolts up to either 10 or 20 PSF only my small torque wrench was calibrated in Newton/Meters, but I found a comparison chart on line which showed 14 and 28 PSF respectively.


I fitted new paper gaskets and tapped in a replacement crankshaft oil seal and squirted plenty of silicon gasket glue onto the bottom of the timing cover where it would seal against the sump pan. Carefully positioning the cover ensuring that I didn't damage the the head gaskets between the heads and the top of cover, I gently coaxed the cover into place with the help of my little plastic hammer. Seven bolts to the sump, four to the underside of the heads and 10 into the crankcase. It was then that found that the two bottom bolts were too short and wouldn't tighten up. so 2 slightly longer bolts have been ordered. Finished.


Obviously not finished as the next day whilst I tidied up I spied the oil deflector that should have been fitted over the crankshaft in front of the two sprockets, on my work bench. I swore, but there was nothing for it, the cover would have to come off. With deflector in place it only took about half and hour to get all back into place and bolted up tight. Now I can start on the  brake callipers.

Tuesday, 9 January 2018

TIMING CHAIN REMOVAL

Christmas and New Year celebrations at last all over and I couldn't wait any longer to get back into the garage. It was too cold to contemplate keep putting my hands into a bucket of cold water whilst using wet 'n' dry emery paper to rub down the red Hammerite in the engine day and as I had already removed the crankshaft bolt, I decided to get on with replacing the timing chains, guides and sprockets.

I pushed the car far enough out of the garage so I could spray on degreaser to the front of the engine and bay and after vigorous brushing I gently hosed it clean. I downloaded the Rimmer Bros., YouTube timing chain instruction video onto my computer which I set up on the scuttle and I was ready to go.


First off was the air cleaner, carb elbows and cam covers, exposing the cams, the picture was taken after the chain and cam sprocket were removed.


The numerous bolts securing the timing chest cover are all different lengths so I inserted then into a piece of cardboard in the right order to ensure they went back into the correct holes.


The tricky bit is separating the bottom of the cover from the sump gasket, I did as shown in the video with a scalpel, but still manage to leave a short length attached to the cover when I tapped it loose, hopefully some silicon gasket sealer should ensure an oil tight seal on reassembly.


I followed the video procedure, using tippex to highlight the essential timing marks,the cloth at the bottom is to ensure nothing falls into the sump whilst I undo all the bits and bobs. I started to remove tensioners, sprockets, chains and guides on the right side with no problems

The left side removal was a little more complicated as the jack shaft sprocket nut was reluctant to undo, but using the same procedure for undoing the crankshaft bolt, it came loose and now only the two crankshaft sprockets had to be removed. using my large puller they easily slipped down the shaft over the woodruff keys and now everything was off.


Now I could inspect everything, in fact the tensioner and guides seemed to show minimal wear with little extension to the tensioners, indicating very little stretch of the chains but there was damage to some of the teeth on the crankshaft sprockets and some scarring at the bottom of the inside of the cover, so I decided to replace everything. In the meantime I reseated the exhaust up pipe to manifold, it had obviously been blowing and I eventually realised the upstand protruding from the up pipe was preventing the flanges mating properly. I ground off a couple of mm from the upstand and with a bit of silencer glupe I now have a nice tight joint, which should considerable improve the exhaust note and stop the mild backfiring on overrun.


 The timing chain cover has been cleaned, but still have to remove the remaining bits of the old gaskets and all the new parts ordered, best quality German chains and properly hardened sprockets etc. should be here soon.