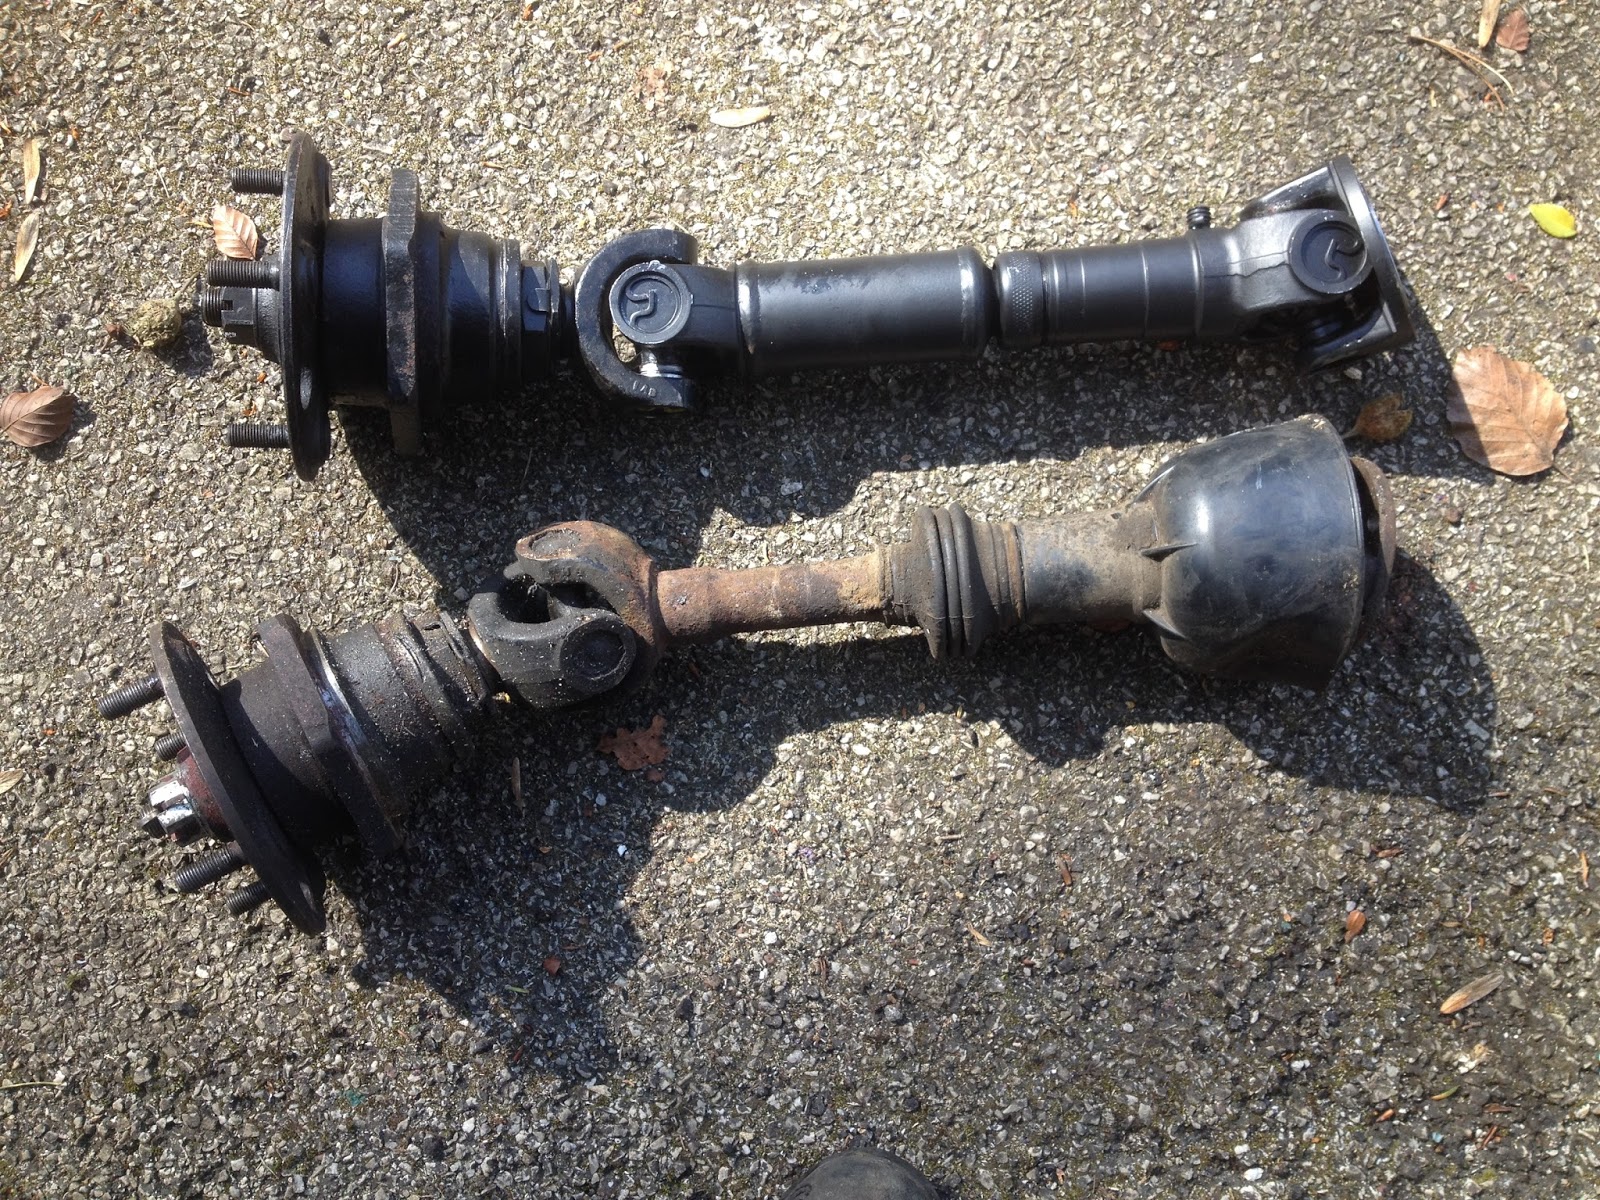
These new ones are a major advance on the originals, the two UJ's have grease nipples fitted and the splined shaft is Rilsan/Teflon coated which means that even under accelerating loads the shafts will still slip and stop the Stag twitch. The splines are also concealed within a metal tube, rather than just rubber bellows and also have a grease nipple fitted. There is no big rubber boot fitted over the inner UJ which means that there is easy access to all the nipples for subsequent servicing, something that the old shafts had never experienced in the previous 40 odd years.

Without the rubber boots the new shafts slipped through the large hole in the trailing arms easily, ensuring that the brake back plates were correctly placed on the six studs first. Then it was just a case of gradually tightening down the six lock nuts per trailing arm and then the four nuts and bolts to connect shafts to differential.

The above photo of the connected left shaft was taken laying on my back, looking directly upwards.
I forgot to take any photos whilst I puzzled out how to refit the brake shoes to the near side brake. I constantly referred to my photos and printed off diagrams from workshop manual and eventually worked out how the self adjusting ratchet operated, which way round and which holes the three springs hooked into. The right side brake shoes took no time at all and soon the drums were both back in place.

The above is a fairly crap photo, you can just about make out the new copper brake pipe connecting the SS flexible hose to the rear slave cylinder. Bleeding brakes tomorrow. Oh by the way my garage creeper, seen in above photo, came in very handy whilst I was tightening the shaft to differential nuts and bolts, saved a lot of neck ache. Bleeding brakes tomorrow,
No comments:
Post a Comment